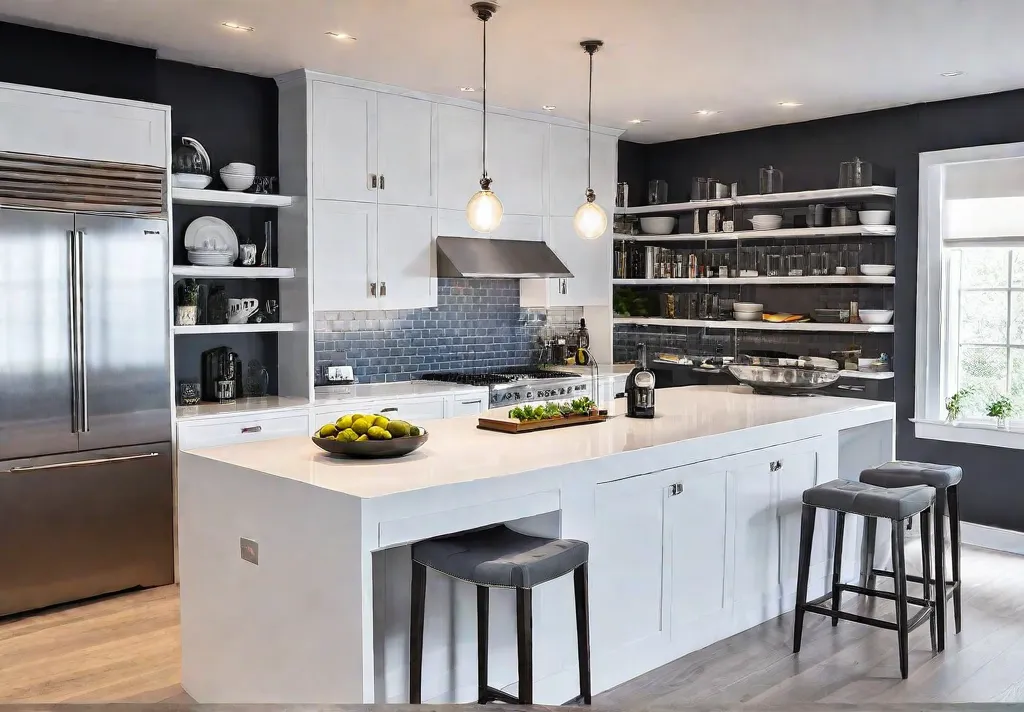
Picture this: You're standing in your kitchen, staring at the cluttered cabinets, wondering where all your cooking essentials have disappeared. Sound familiar? If so, you're not alone. Many homeowners struggle with keeping their kitchens organized and efficient. But the good news is, there's a simple solution—installing kitchen storage cabinets.
I know what you're thinking: "Easier said than done, right?" Wrong! With the right guidance, even a novice DIYer can install kitchen storage cabinets like a pro. In this comprehensive guide, I'll walk you through the entire process, from measuring and planning to optimizing your cabinet organization. By the end, you'll have a kitchen that's visually appealing and a joy to work in.
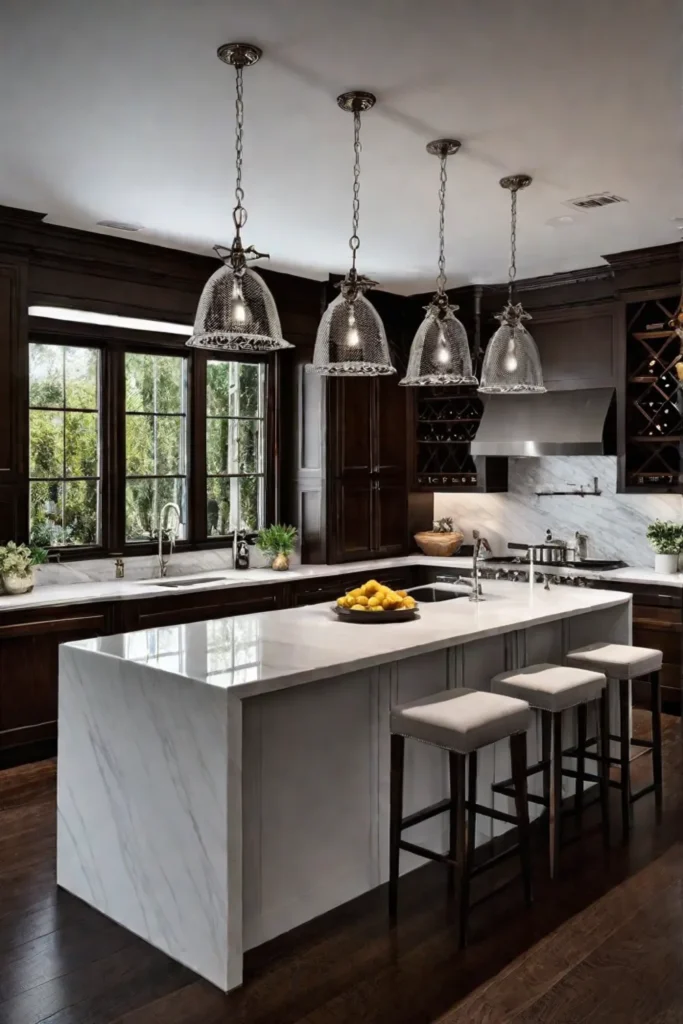
So, whether you're tackling a full-blown kitchen renovation or just looking to streamline your existing space, get ready to say goodbye to the clutter and hello to a well-organized, functional kitchen. Let's dive in!
Measuring and Planning
The first step in installing a kitchen storage cabinet is accurate measurements and detailed planning. Trust me, this is not the time to eyeball it. Precise measurements ensure your new cabinets fit like a glove and maximize the available space.
Start by measuring the width, depth, and height of your kitchen. Don't forget to factor in the placement of your existing appliances and the flow of your workspace. After all, you want your cabinets to complement the layout, not disrupt it. Once you have your measurements, create a detailed floor plan, mapping out where each cabinet will go.
You might be wondering, "How important are these measurements?" Well, let me put it this way - improper measurements can lead to too big or too small cabinets, leaving you with wasted space or a cluttered mess. And trust me, that's a headache you don't want to deal with.
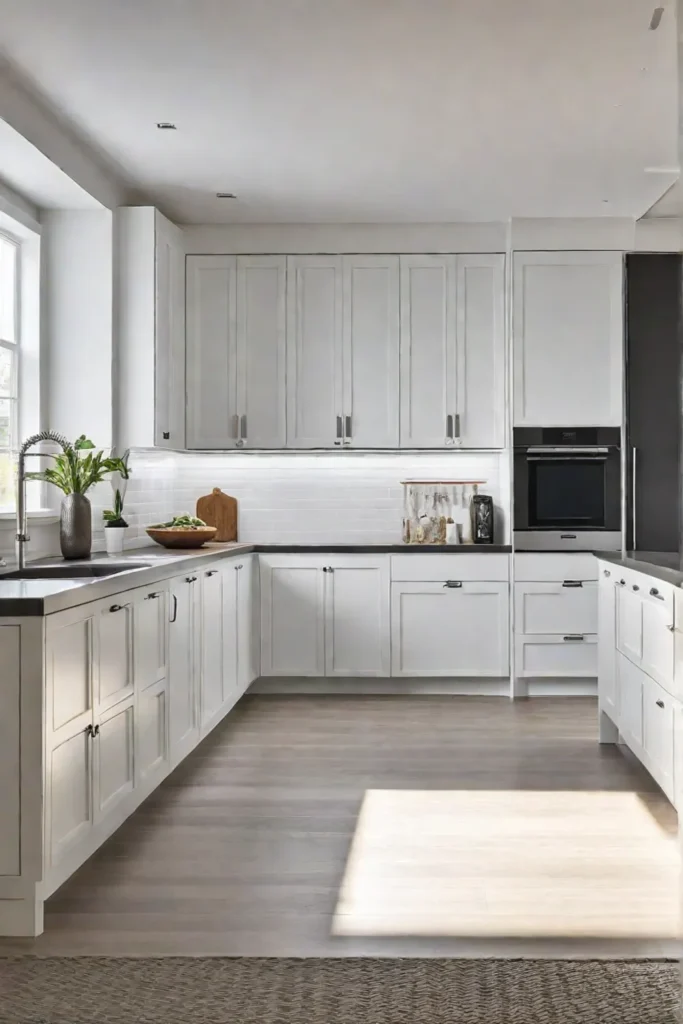
To ensure you get it right, use a stud finder to locate the wall studs and mark them on your floor plan. This will help you determine the best spots to mount your cabinets securely. Don't forget to measure the height of your countertops and the space between them and the ceiling—this will ensure your cabinets are at the perfect level for easy access.
By taking the time to measure and plan carefully, you'll set yourself up for a smooth, stress-free installation. So, grab your tape measure and get to work!
Selecting the Right Cabinets
Now that you've got your measurements and a detailed floor plan, it's time to start shopping for the perfect kitchen storage cabinets. But with so many options, how do you know which ones are the best fit for your space and your style?
First, let's talk about materials. Wooden cabinets are the most popular choice, accounting for over 60% of the market. They offer a warm, natural look that can be stained or painted to match your kitchen's aesthetic. If you're looking for a more budget-friendly option, consider laminate cabinets. They're resistant to moisture and stains, making them a great choice for high-traffic kitchens.
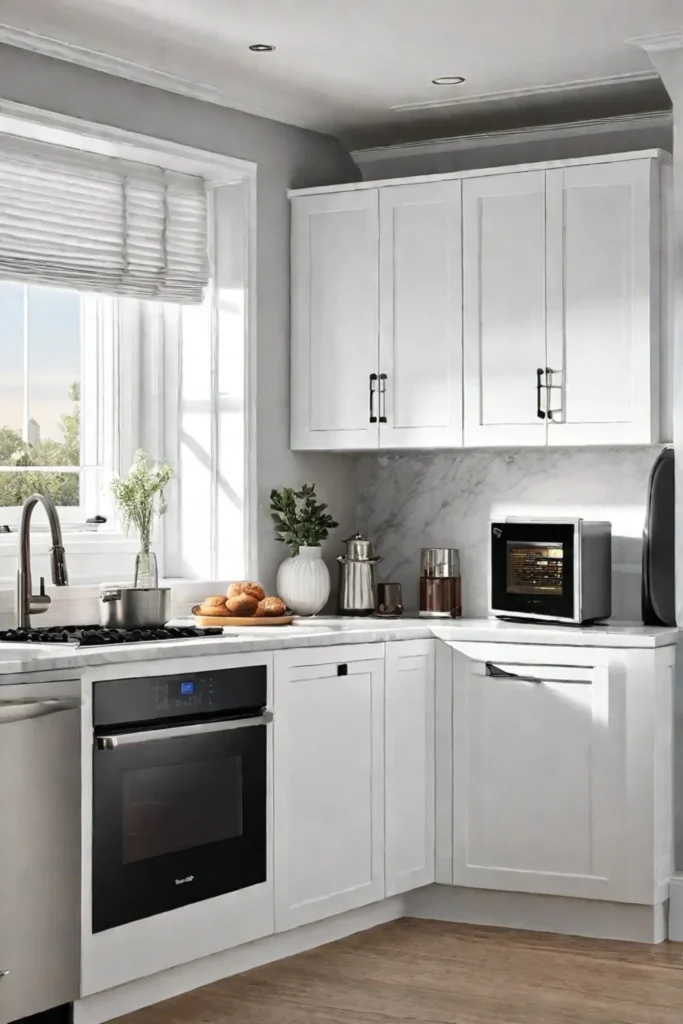
Next, think about the style. Are you going for a classic, traditional look or something more modern and minimalist? Shaker-style cabinets with clean lines are a perennial favorite, while contemporary cabinets with sleek, flat fronts can give your kitchen an elegant, high-end feel.
And let's not forget about those all-important features. Look for cabinets with adjustable shelves, soft-close hinges, and pull-out drawers. These little details can make a big difference in your kitchen's overall functionality and organization.
Remember, the cabinets you choose will be the foundation of your kitchen's design, so take the time to find the ones that perfectly complement your style and needs. With a little research and a keen eye for detail, you'll be well on your way to creating the kitchen of your dreams.
Cabinet Installation Basics
Now that you've got your measurements, floor plan, and perfect cabinets, it's time to tackle the installation. I know that the thought of drilling into your walls can be a little daunting, but trust me, it's not as scary as it seems.
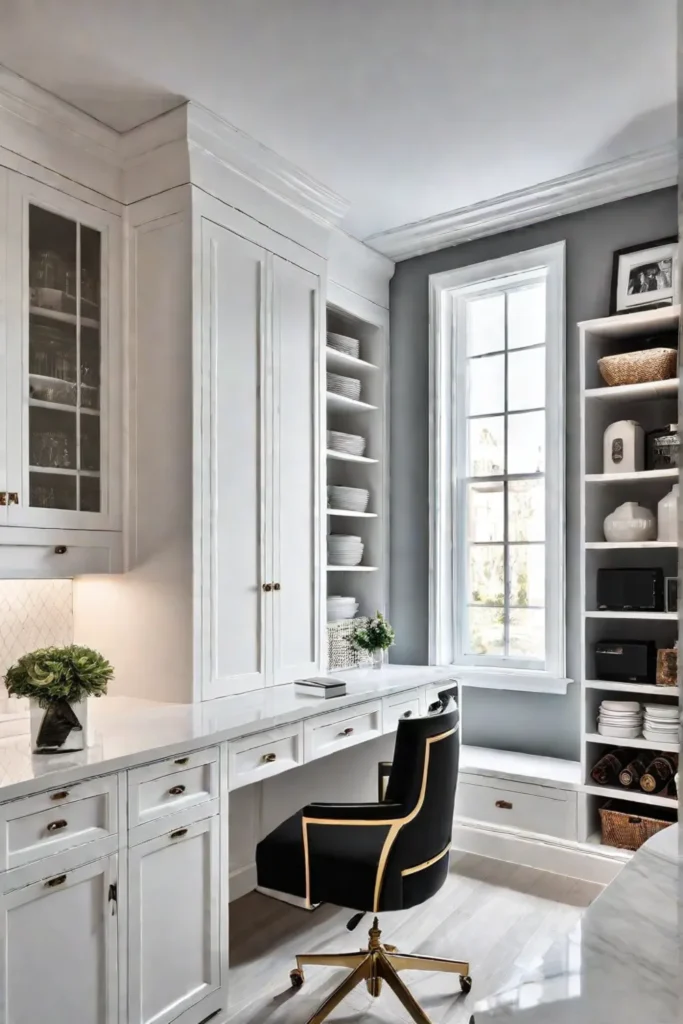
First, make sure you've got all the necessary tools on hand, like a level, a stud finder, and a drill. Then, start by prepping the wall. Please clean it well and make any necessary repairs to ensure a smooth, even surface for your cabinets to rest on.
Next, use the stud finder to locate the wall studs and mark them on the wall. These are the sturdy spots where you'll be securing your cabinets. Grab your level and make sure the wall is nice and straight—you don't want any crooked cabinets!
Now, it's time to start mounting those cabinets. Begin with the base units, using screws and wall anchors to secure them to the floor and wall. Before moving to the wall cabinets, please ensure they're level and evenly spaced.
When it comes to the wall cabinets, use a laser level to ensure they're perfectly aligned with your base units. Secure them to the wall, hitting those studs for maximum stability.
Once your cabinets are in place, it's time to connect them. Use screws to join the units together, creating a seamless, cohesive look. And don't forget to install the doors and drawers, ensuring they open and close smoothly.
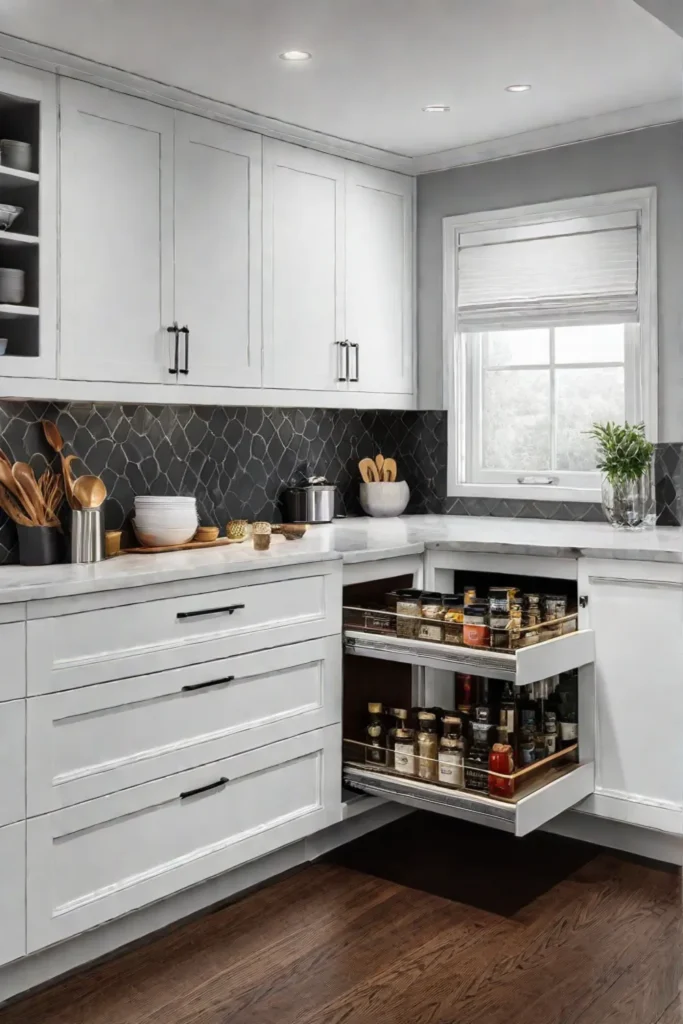
I know it sounds like many steps, but if you take your time and follow the instructions, you'll be a cabinet-hanging pro in no time. Just remember to work safely, measure twice, and never underestimate the power of a good level!
Optimizing Cabinet Organization
Okay, you've got your shiny new kitchen storage cabinets installed and ready to go. But simply having the cabinets isn't enough - you need to ensure they're working hard for you by keeping your kitchen organized and efficient.
The key is to think vertically. Don't just stuff your cabinets with random items; use every inch of space to your advantage. Start by grouping similar items - all your spices in one cabinet, your baking supplies in another. This makes it easier to find what you need and when needed.
Next, consider installing handy organizational accessories, like pull-out shelves and dividers. These little upgrades can be game-changers, transforming your cabinets from chaotic to completely coordinated. And don't forget about those lazy susans - they're perfect for storing hard-to-reach items and keeping your condiments and small appliances neatly tucked away.
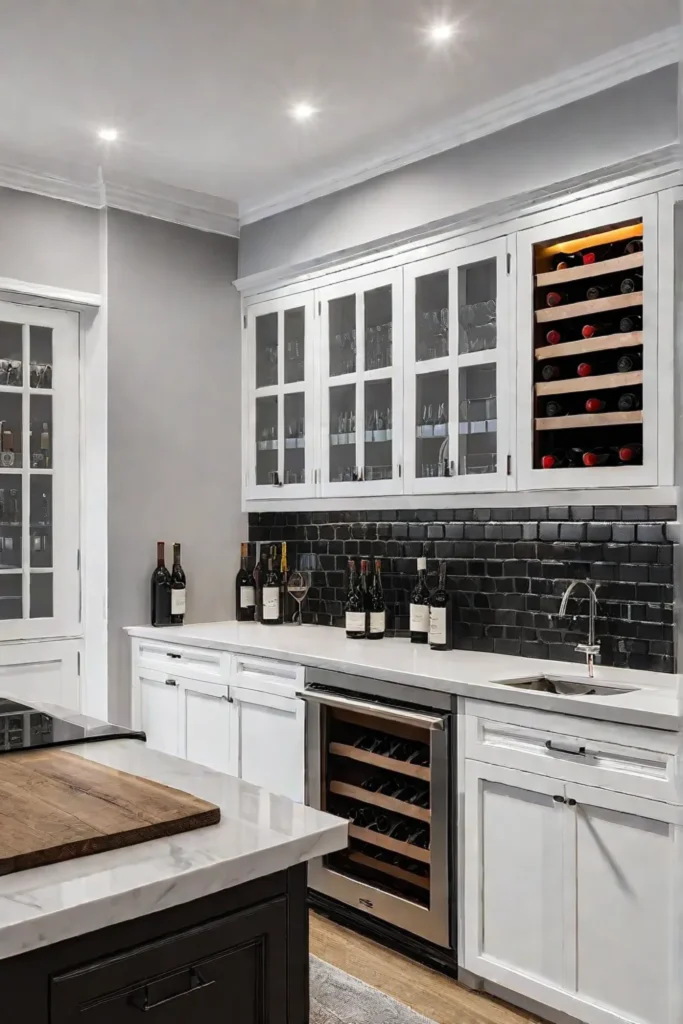
But what is the real secret to maintaining your cabinet organization? Regular maintenance. Take some time every few months to give your cabinets a good once-over. Wipe down the shelves, toss out expired items, and rearrange things as needed. Trust me, a little TLC goes a long way in keeping your kitchen clutter-free.
Remember, the key to a well-organized kitchen isn't just about the cabinets themselves - it's about how you use them. So, get creative, strategic, and ready to say goodbye to the days of rummaging through piles of disorganized kitchen items. Your future self will thank you!
Upgrading and Maintaining Cabinets
All right, your kitchen storage cabinets are installed and organized perfectly. But the work doesn't stop there! To keep your cabinets looking and functioning their best, it's important to maintain them properly and consider upgrading them over time.
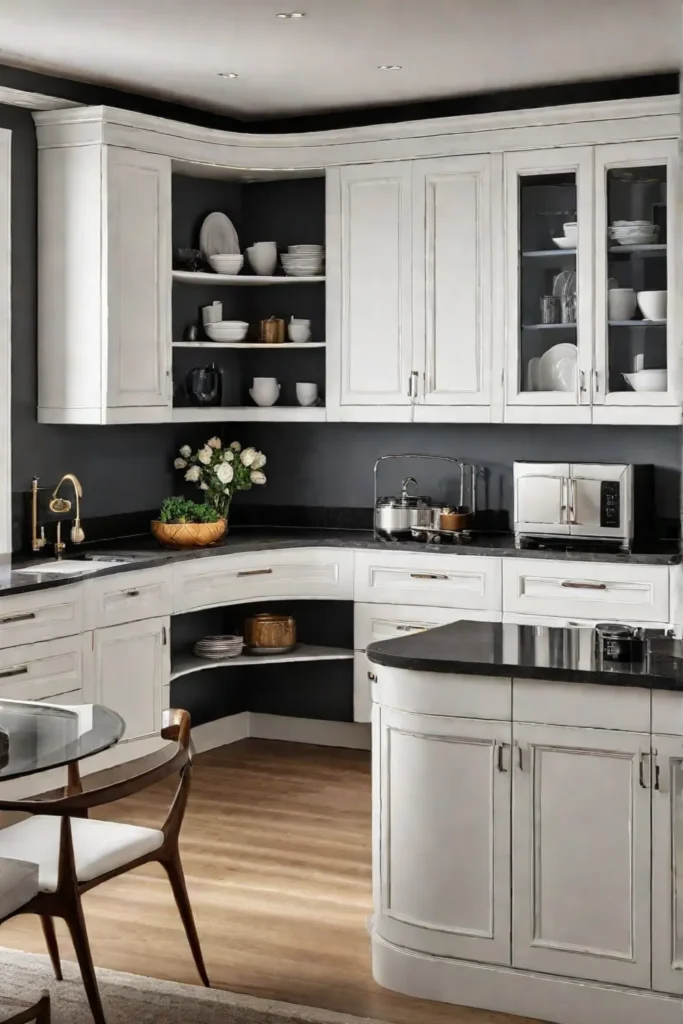
Let's start with the basics: cleaning and caring for your cabinets. Regularly wipe the surfaces with a damp cloth to prevent dust and dirt buildup. Consider using furniture polish or mineral oil for wooden cabinets to keep the wood looking its best. And don't forget to tighten any loose hardware, like hinges and handles, to ensure everything is in tip-top shape.
Now, what about upgrades? Over time, you may want to switch up the look of your kitchen by updating the hardware or even the cabinet finishes. New knobs, pulls, or a fresh coat of paint can breathe new life into your cabinets and give your kitchen a whole new vibe.
And if your cabinets are showing their age, it might be time to consider a more extensive upgrade or even a full replacement. While this can be a bigger investment, it can also pay off in the long run by increasing the value of your home and giving you a kitchen that's truly tailored to your needs.
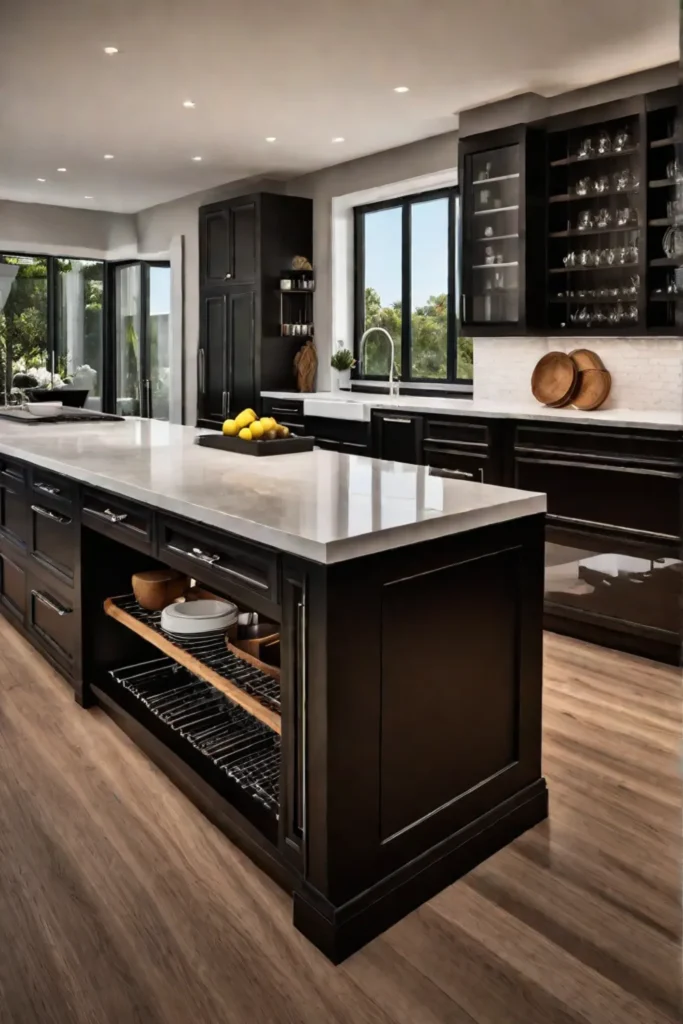
Remember, your kitchen storage cabinets are a big part of what makes your space functional and beautiful. By taking the time to maintain and upgrade them as needed, you can ensure they continue to serve you well for years to come.
DIY Cabinet Installation Tips
Alright, let's talk about the exciting world of DIY cabinet installation! I know the thought of drilling into your walls and securing those heavy cabinets can seem daunting, but it's doable, even for the most novice DIYers.
The key is to start by honestly assessing your skills and comfort level. If you're a seasoned handyman with a well-stocked toolbox, then a DIY cabinet installation might be right up your alley. But if you're more of a weekend warrior, you might want to consider bringing in a professional to handle the heavy lifting.
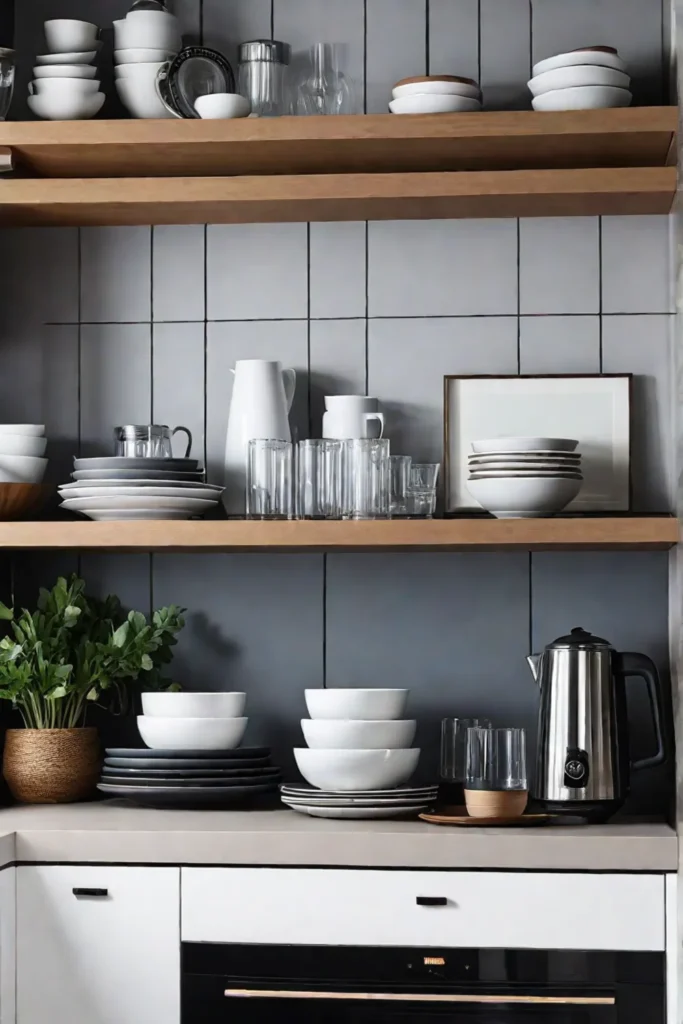
Assuming you're ready to tackle this project, the first step is gathering all the necessary tools and materials. You'll need a drill, a level, a stud finder, and the cabinets themselves. And don't forget safety gear like goggles and gloves - you want to protect those precious DIY hands!
Once you've got everything you need, it's time to start measuring and planning. Measure the space, map out your cabinet layout, and double-check those measurements to ensure a perfect fit. Trust me, an extra five minutes spent on planning can save you hours of frustration.
Regarding the installation, take your time and follow the manufacturer's instructions in the letter. Secure the base cabinets to the floor and wall, making sure to hit those all-important wall studs. Then, hang the wall cabinets, using a laser level to align everything perfectly.
And don't worry if you hit a snag or two along the way - that's where all those troubleshooting tips come in handy. Whether it's an uneven wall or a stubborn cabinet, there's usually a solution if you take a deep breath and think it through.
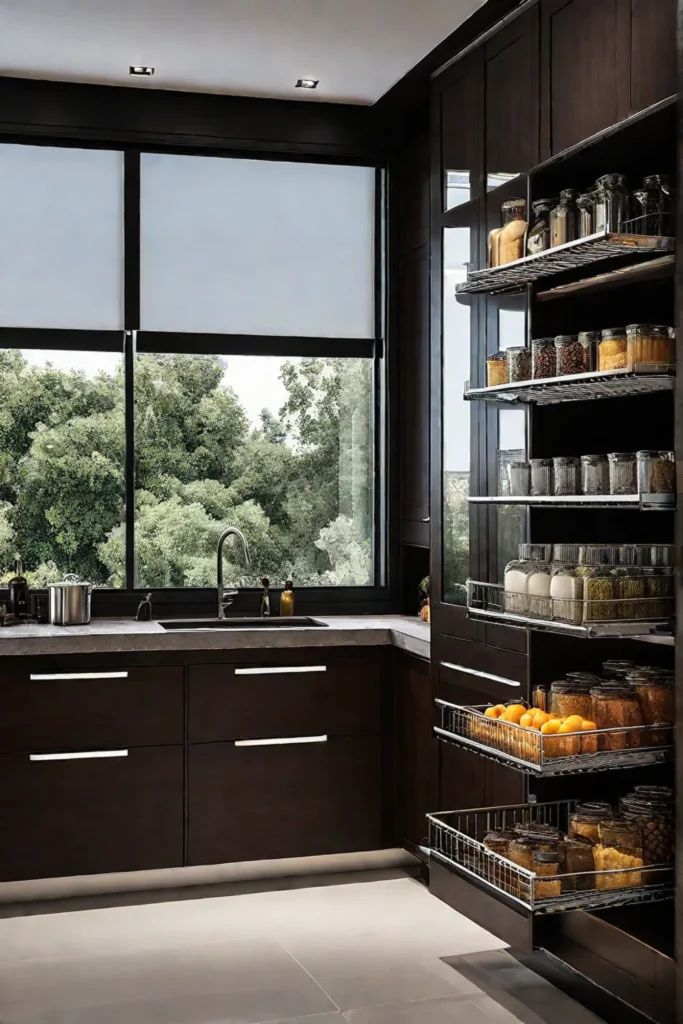
So, are you ready to channel your inner DIY superstar? You can install those kitchen storage cabinets like a pro with a little elbow grease and patience. Just remember to work safely, double-check your measurements, and don't be afraid to ask for help if you need it. You've got this!
Maximizing Storage Potential
All right, your kitchen storage cabinets have been installed and are looking fabulous. But you know what they say - there's always room for improvement! And when it comes to maximizing the storage potential of your cabinets, the possibilities are endless.
Let's start by thinking vertically. Don't just stack your items on top of each other - use every inch of that precious cabinet space by installing pull-out shelves or stacking bins. You can easily access those hard-to-reach items without rummaging through a jumbled mess.
Speaking of hard-to-reach items, don't be afraid to get a little creative with your storage solutions. Lazy susans are a lifesaver for keeping your spices, condiments, and small appliances neatly organized and within easy reach. If you've got the space, consider adding some hanging storage for your pots, pans, and utensils.
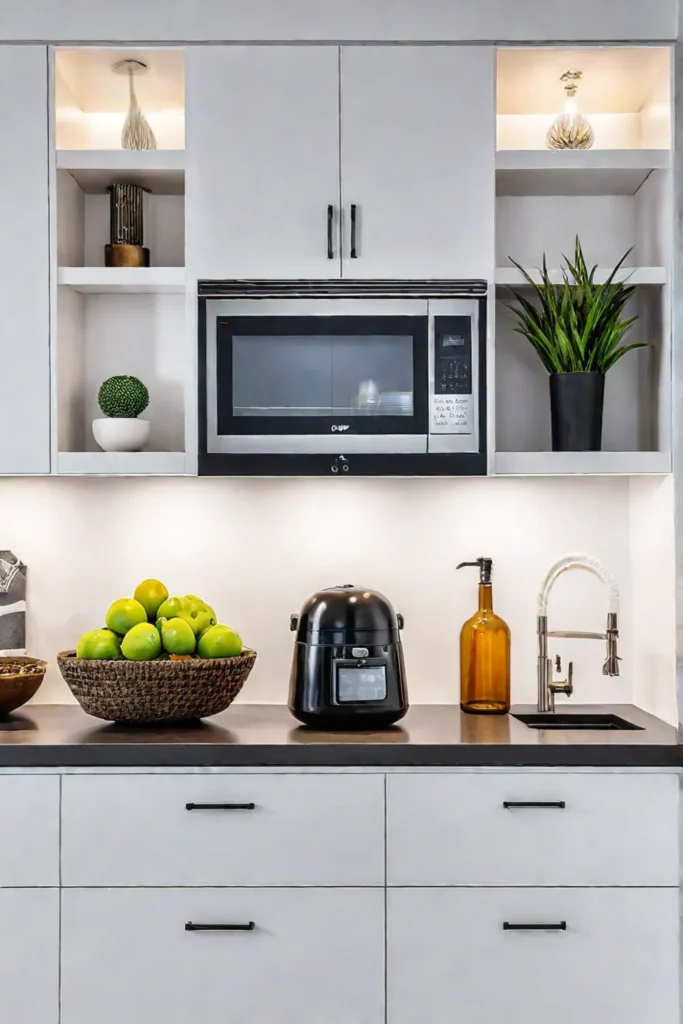
But it's not just about the cabinets - you can also amp up your organization game with handy accessories. Drawer dividers, for example, can help you keep your cutlery, baking supplies, and other small items in tip-top shape. And don't forget about those nifty pull-out shelves - they're perfect for storing everything from canned goods to Tupperware.
And let's not forget about the latest technological advancements in kitchen storage. Smart drawers with built-in charging ports or voice-activated cabinets that respond to your commands? Yes, please! These cutting-edge features can take your kitchen organization to a whole new level.
Remember, when maximizing your cabinet storage, the key is to think outside the box. Get creative, experiment with different solutions, and don't be afraid to try something new. After all, a well-organized kitchen is the secret to a stress-free cooking experience.
Integrating Cabinets with Kitchen Design
Alright, let's discuss the final piece of the puzzle: integrating your kitchen storage cabinets with the overall design of your space. Because let's be real, those cabinets aren't just functional—they're a major design element that can make or break the look and feel of your kitchen.
First and foremost, you'll want to ensure your cabinet styles and finishes complement your kitchen's existing aesthetic. If you have a classic, traditional vibe, opt for shaker-style cabinets in a warm, natural wood tone. But if you're leaning more towards a modern, minimalist look, sleek, flat-front cabinets in a glossy white or gray finish might be the way to go.
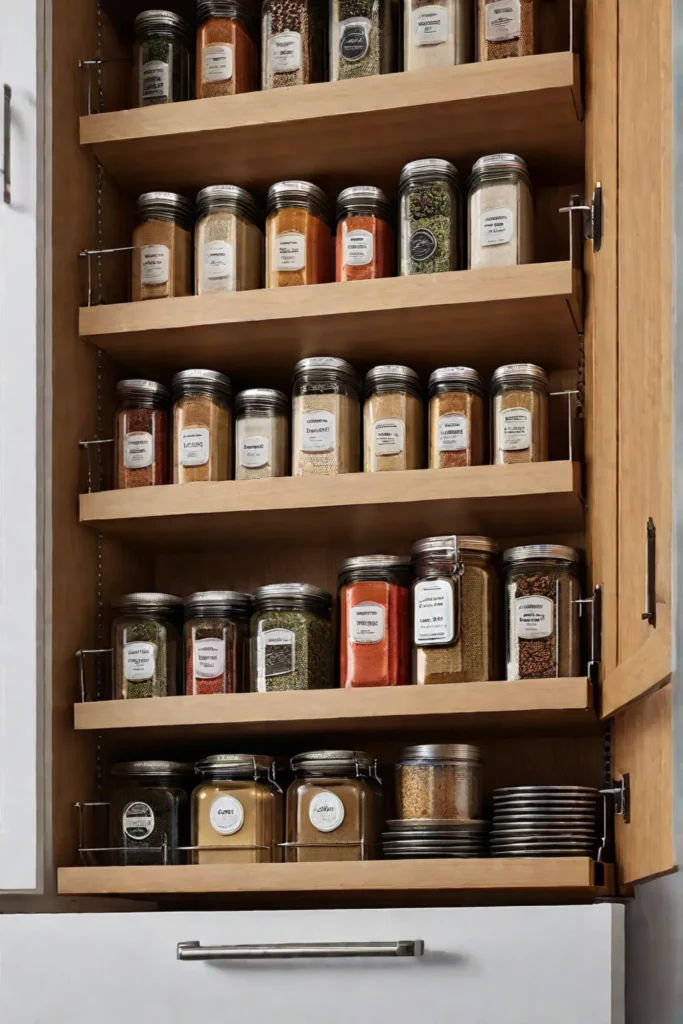
And it's not just about the cabinets themselves – their placement and layout also play a crucial role in the overall design. Carefully consider the workflow of your kitchen and position your cabinets accordingly. Place frequently used items at eye level for easy access, and arrange the cabinets to create a visually balanced and cohesive look.
But don't be afraid to think outside the box when incorporating your cabinets as design elements. Use open shelving to display your favorite kitchen accessories or glass-front cabinets to showcase your prized dishware. And if you want to make a statement, consider a bold cabinet color or unique hardware that ties the whole space together.
Remember, your kitchen storage cabinets are more than just functional – they reflect your style and the heart of your home. By integrating them seamlessly with the overall design, you can create a space that's efficient and a true showpiece you'll love spending time in.
Conclusion
Well, there you have it – your comprehensive guide to installing kitchen storage cabinets like a pro. From measuring and planning to optimizing your cabinet organization, we've covered all the essential steps to help you transform your kitchen into a well-oiled, clutter-free machine.
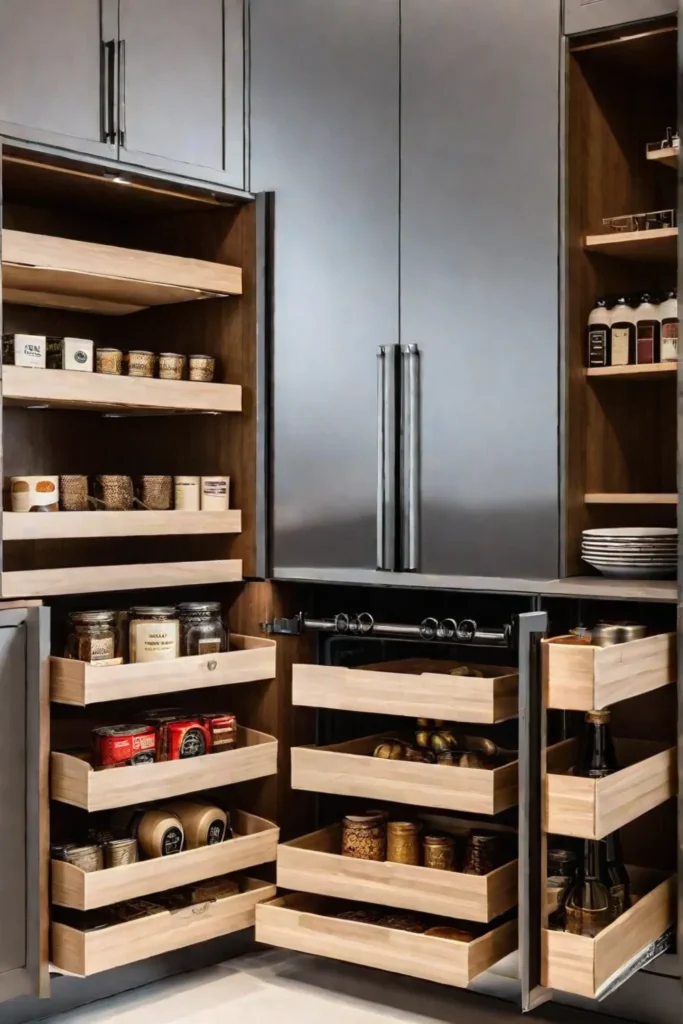
I know tackling a project like this might seem daunting, but trust me, it's more than worth it. A well-designed, efficiently organized kitchen can save you time, reduce stress, and even increase the value of your home. With the tips and tricks we've covered, you'll be on your way to cabinet-hanging glory in no time.
So, what are you waiting for? Grab your tape measure, level, and DIY spirit, and let's get to work! Your dream kitchen is just a few cabinets away. Happy installing, my friends!
